Are Your Images Slowing Down Your Website?

Images are a SO important to the look of websites and can make a significant impact in the success of our sales. Images set the tone for designs and even contribute to the success of your SEO on Google, but what happens when they slow down your site’s performance?
When images are large (anything over 500kb per image) your site loading time will suffer, and so will your bounce rate and site SEO ranking. But if your images are below 100kb, you might risk having blurry and grainy images.
Here are a couple of ways that you can resize your images to make sure they still maintain their amazing quality, but don’t hinder your online presence. The best part, it’s an easy fix!
When should you resize your images?
Images these days can take up over half of a website’s total size. With that, it is important that images are mindfully resized and formatted to maintain the website experience. Any images in megabytes (MB) are going to be considered too large. The goal is to resize images so that they are a between 100-500 kilobytes (KB) in size. NOTE: if you have a high content site with lots of images, aim for close to 100kb. Once you know the size, you can determine if it needs to be compressed or reformatted.
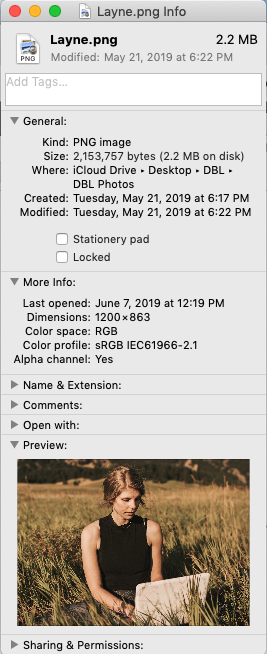
Here is how you can find out the size of your image:
Go to where your image is located on your computer
Right click the image thumbnail
Click on “Get Info” (or command “I” (like eye, not like elle ha))
Notice the size of the image is listed on the top right hand corner
(See example below)
Option 1: Convert PNGs to JPGs (on Mac)
A PNG stands for Portable Networks Graphic and is generally a larger file size than JPGs (Joint Photographic Experts Group). The biggest difference is they have different compression formats, but both can successfully be used on websites.
An easy way you can make the file size of your PNG smaller, is to convert it to a JPG.
Here’s how:
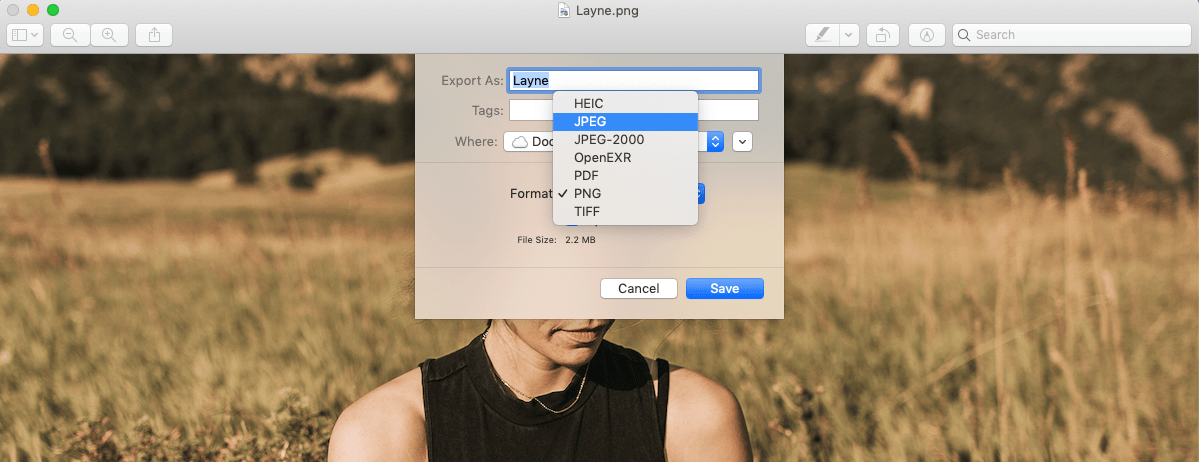
Open your image in preview

Go to “File” and click “Export”

Change the format to JPEG
Select your export destination (e.g. desktop or a folder)
Click “Save”
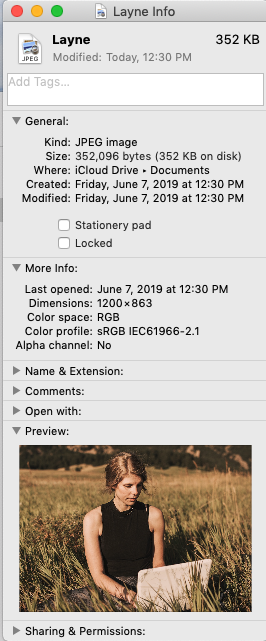
Go to the new file
Right click the thumbnail
Click “Get Info” to view check on new image size
Notice below the size went from 2.2 MB to 352 KB (much better!)
Option 2: Compress PNGs and JPGs on compresspng.com (on any operating system!)
Go to https://compresspng.com/
Select the correct file type you will be uploading (located in the middle right of the webpage)
Note: If you want to compress a PNG but upload it to the JPEG selection, it will not work!

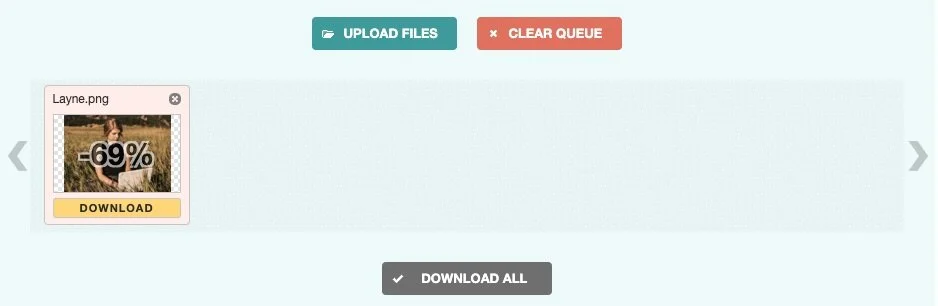
Upload your image and wait for the compression to finish
It will look like this when it is complete and also show the percentage it was compressed by:
Download the updated image and check the size.
Using Photoshop to resize
If you have photoshop and like to use it, another way you can resize you image is by exporting your image, and dragging the quality percentage down and to the right. Usually doing this between 20-50% is all you need!
Voilà! You’re done and ready to upload your image to your website.
Have any questions? Comment below or contact me here for help on your own website!